Setup and Deployment
Deploying PopUp Mainframe on KVM (IBM Z or x86)
PopUp Mainframe is available as a KVM image, which can run on either Z or x86 hardware. The instructions are the same for both scenarios. Download the KVM image from the link provided to you by the PopUp Mainframe team.
Deploying KVM image using a GUI
The KVM image can be deployed through a GUI, for example Nutanix. Follow the below process:
- Create a VM by importing the .qcow2 file. Note: The KVM image uses Legacy BIOS, not UEFI. Please ensure that the VM is configured to use Legacy BIOS when deploying on any virtualization platform based on KVM.
- Default configuration will be used. See the commands below for details if you wish to change any of the config values.
- See below for post deployment steps.
Deploying KVM image using command line
This video shows the command line steps (these steps are relevant for both Z and x86 hardware). Alternatively, copy the commands from below.
1. Create the data disk
Create a 1 TB disk for the PopUp
sudo qemu-img create -f qcow2 /storage/build/images/output/data.qcow2 1024G
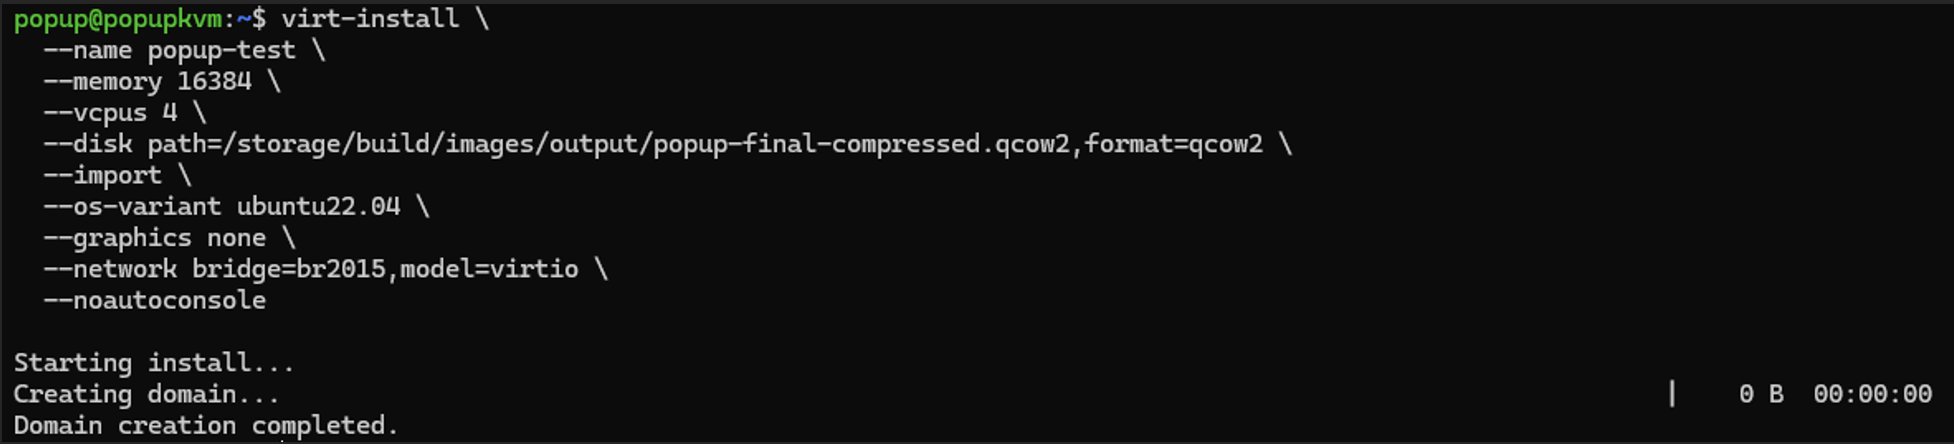
2. Start the Virtual Machine
To start the VM, run the following command, customized based on your preferences
virt-install --name popup-test --memory 16384 --vcpus 4 --disk path=/storage/build/images/output/data.qcow2,format=qcow2 --import --os-variant ubuntu22.04 --graphics none --network bridge=br2015,model=virtio --noautoconsole
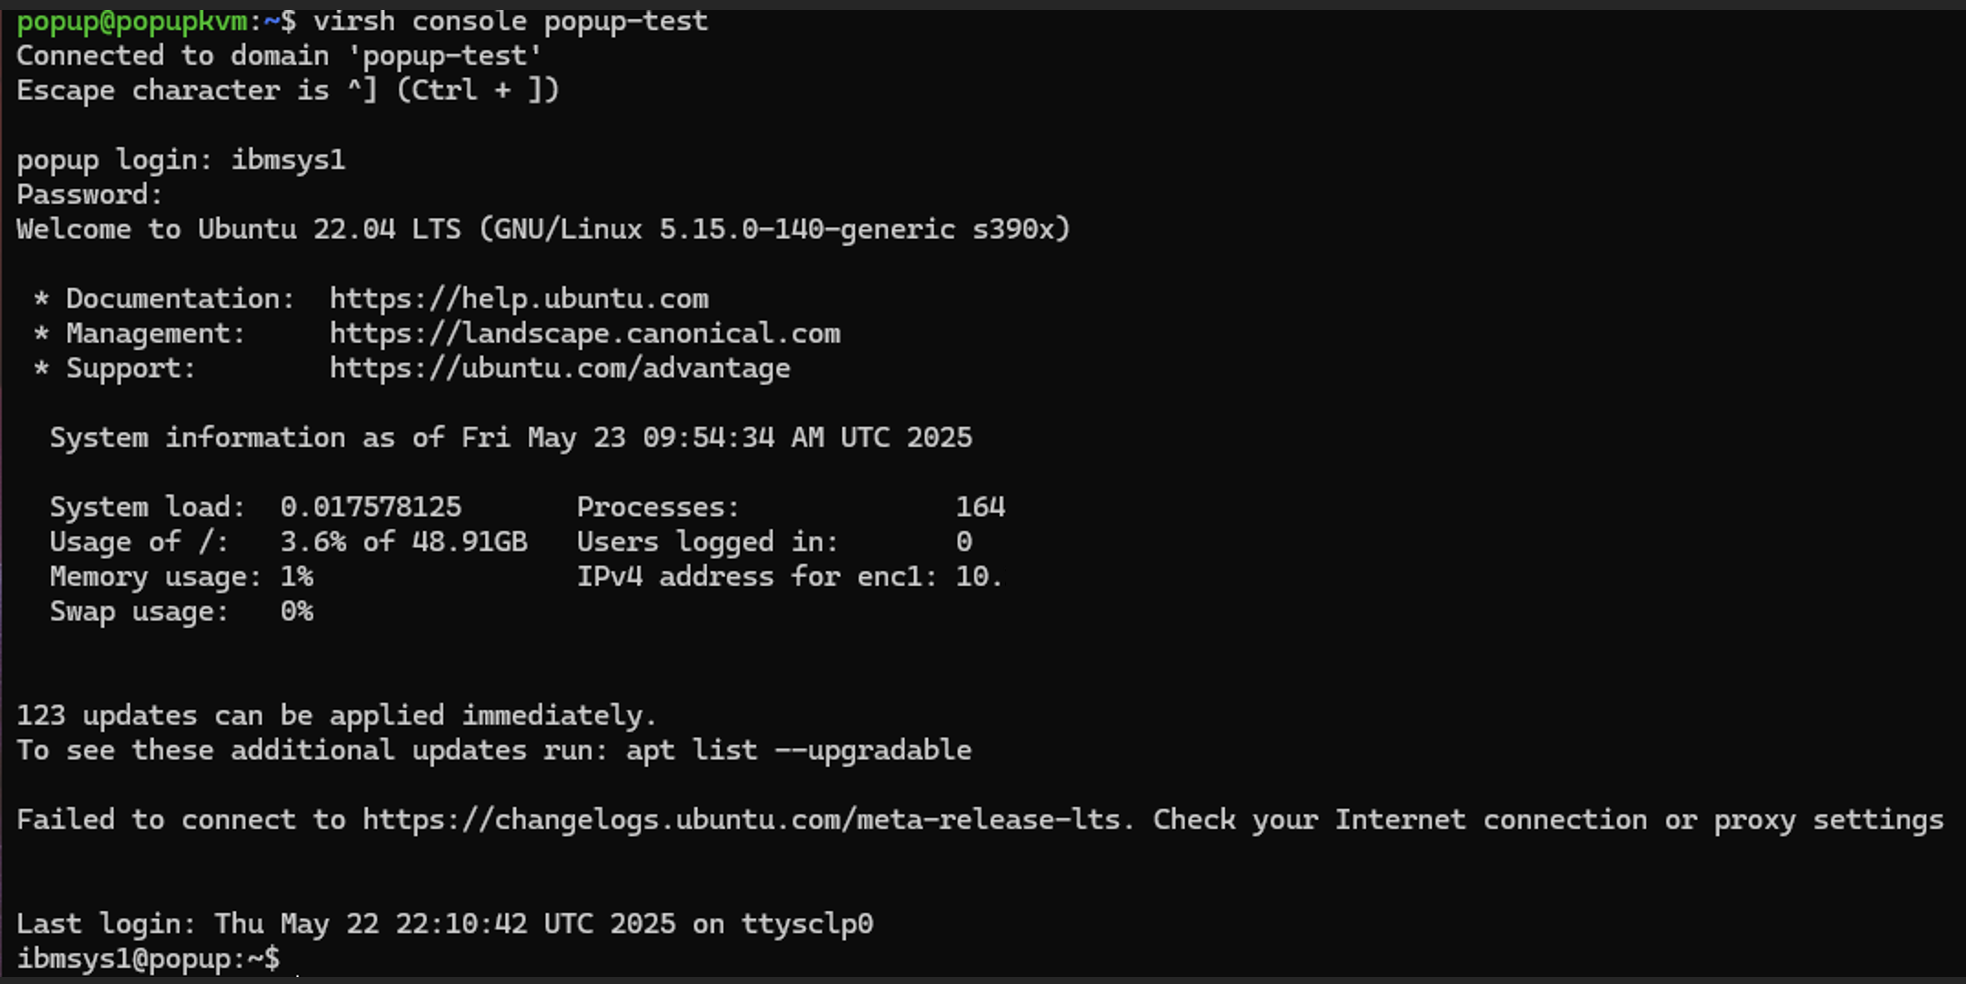
3. Connect to the VM Console
Use the following command to access the VM console
virsh console <VM Name>
Replace VM Name with the name of your virtual machine e.g. popup-test.
4. Post Deployment Steps - KVM
See below for post deployment steps.
Deploying PopUp Mainframe in the Cloud
Microsoft Azure
PopUp Mainframe is available as a cloud offering through Microsoft Azure.
Watch the video to see how to spin up a PopUp on Azure, or follow the documentation below.
1. Create Azure Virtual Machine
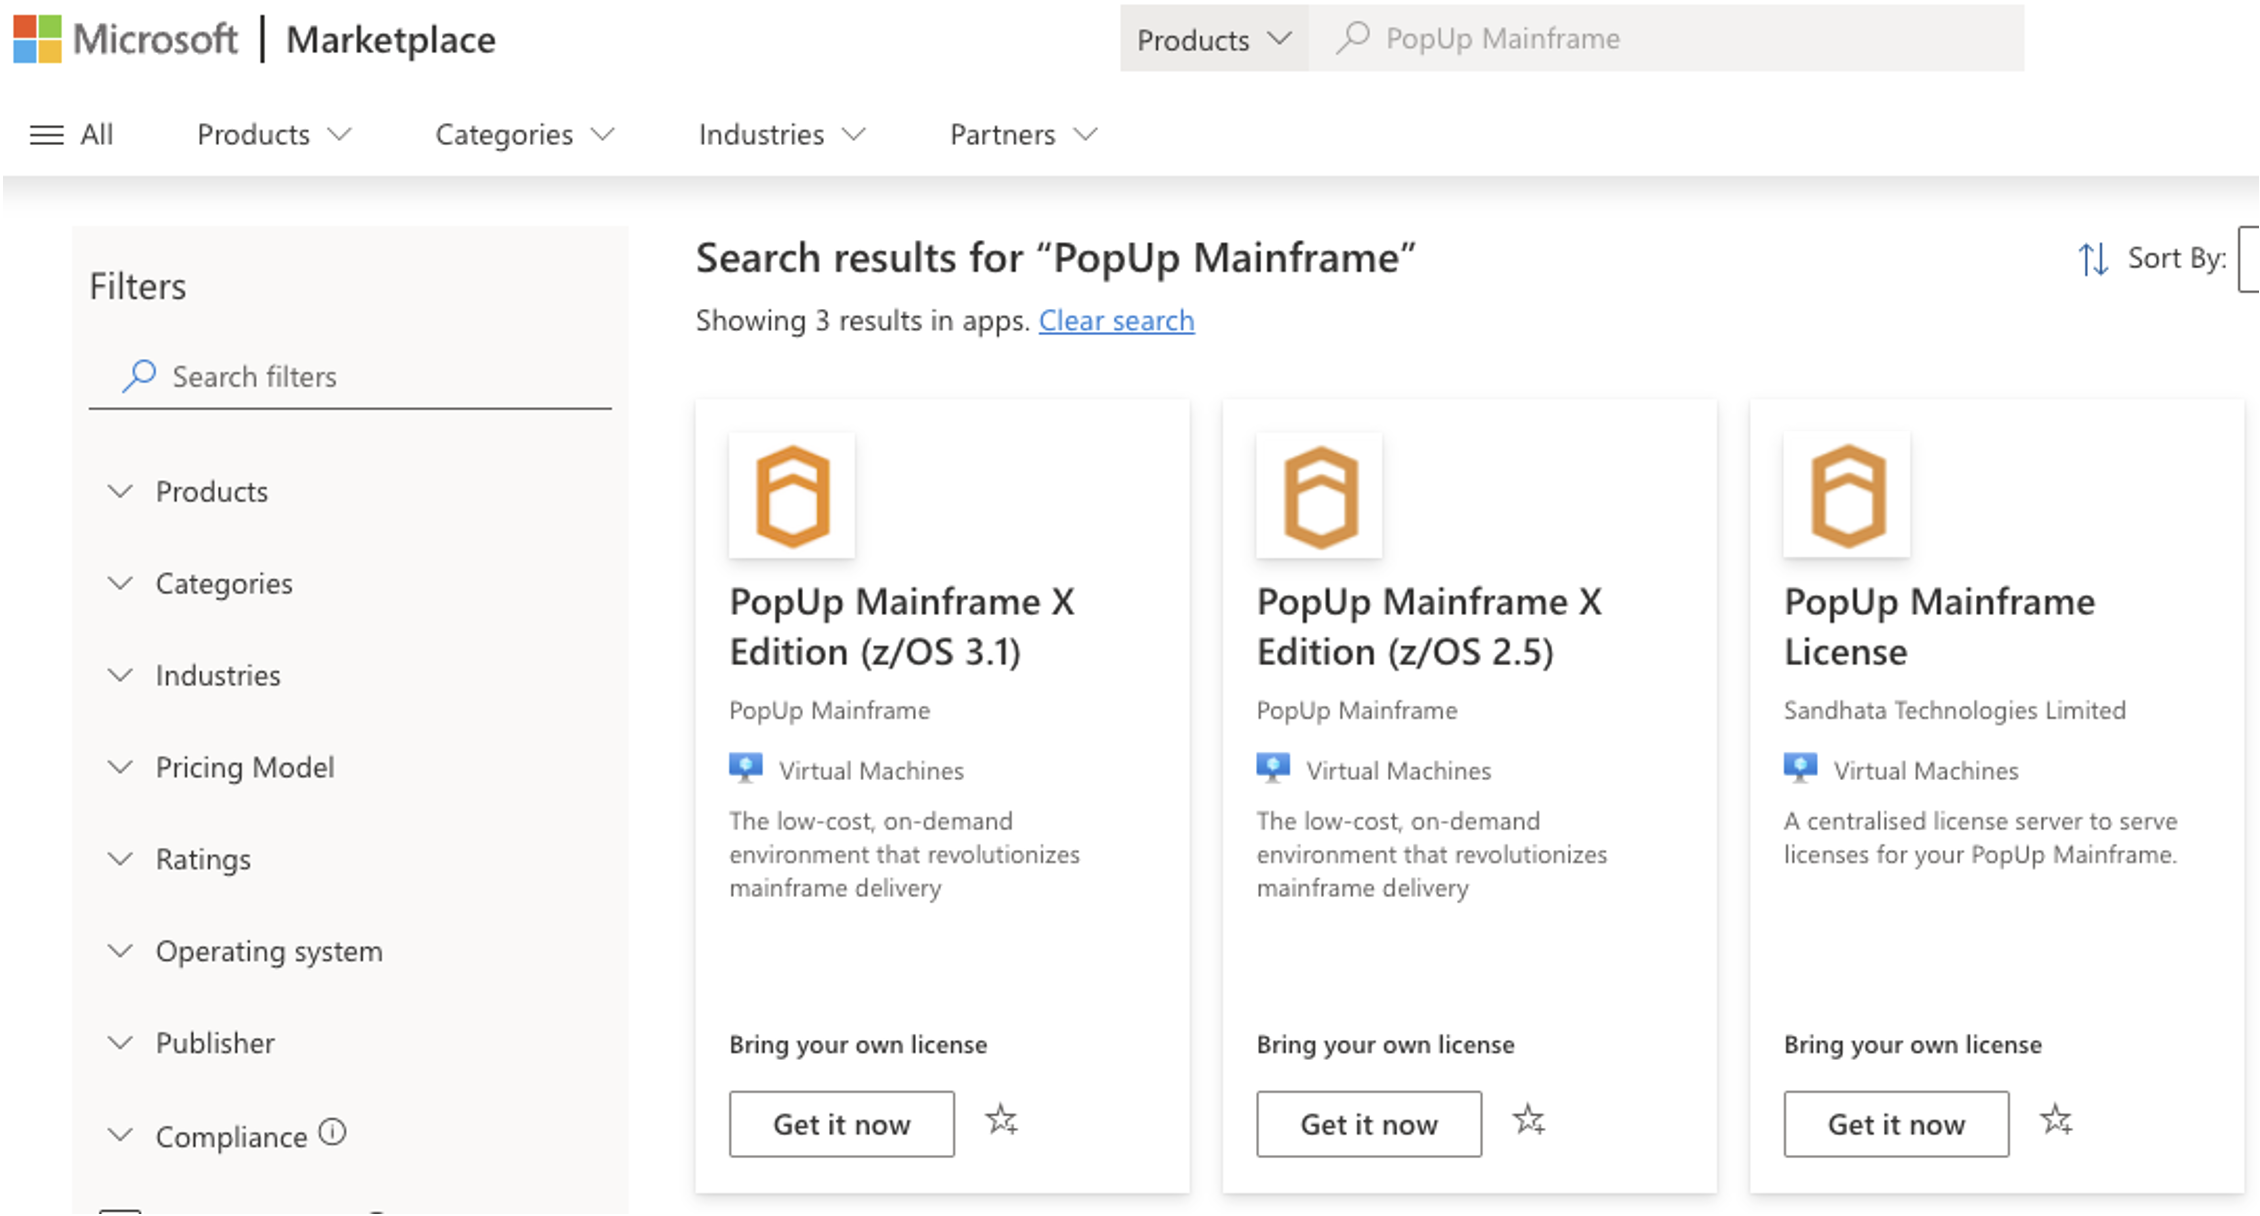
Login to the Microsoft Azure portal, go to the Microsoft Azure marketplace and search for PopUp Mainframe. Click on the appropriate offering, and choose "Get it now":
- choose "Create"
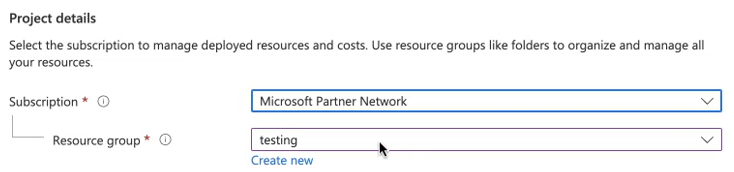
- Under Project details, select Subscription, and Resource group for the Virtual machine:
- Under Instance details, enter the required name for the Virtual machine name and choose PopUp Mainframe – Gen 1 for the Image. Leave the other defaults:

NOTE: You can select the preferred Region, Availability options & Security type.
- Select the required size to build the VM:
NOTE: The recommended minimum size is "Standard_D4s_V3 - 4vcpus, 16GiB memory".
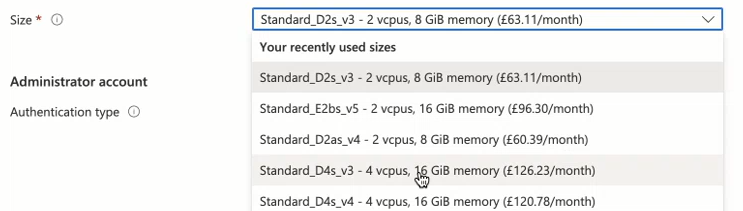
NOTE: Check whether the Size is available for the selected Region.
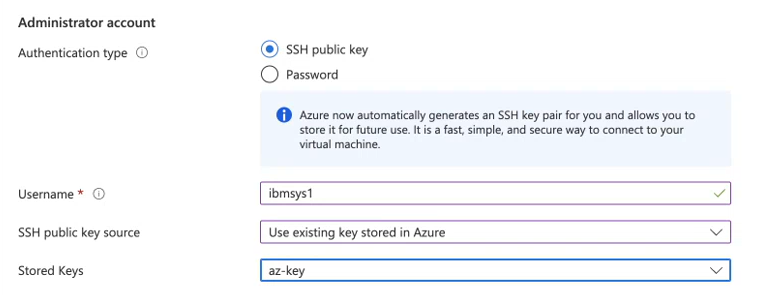
- Under Administrator account, select the Authentication type as "SSH public key". Provide the username as
ibmsys1. Select the required SSH Public key source. If you want to use an already existing key select “Use existing key stored in Azure” and select the required key in Stored Key:
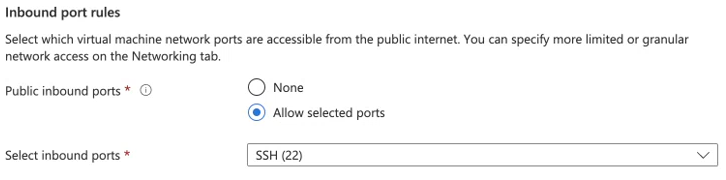
- Under Inbound port rules, choose "Allow selected ports" and then select SSH (22) from the drop-down. And click "Next: Disks":
- An additional data disk is required for the PopUp. We do not recommend you use system disk for application data. Select "Create and attach a new disk":
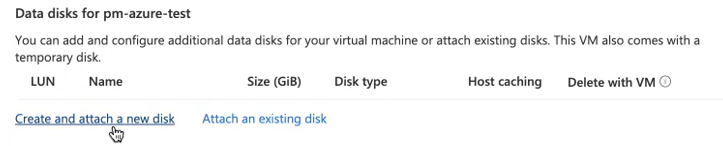
- The recommended minimum disk size is 1024 GiB (Change this depending on the data size you require). Click OK:

-
If you wish to specify network configuration appropriate for your organisation, for example vnet, do that next.
-
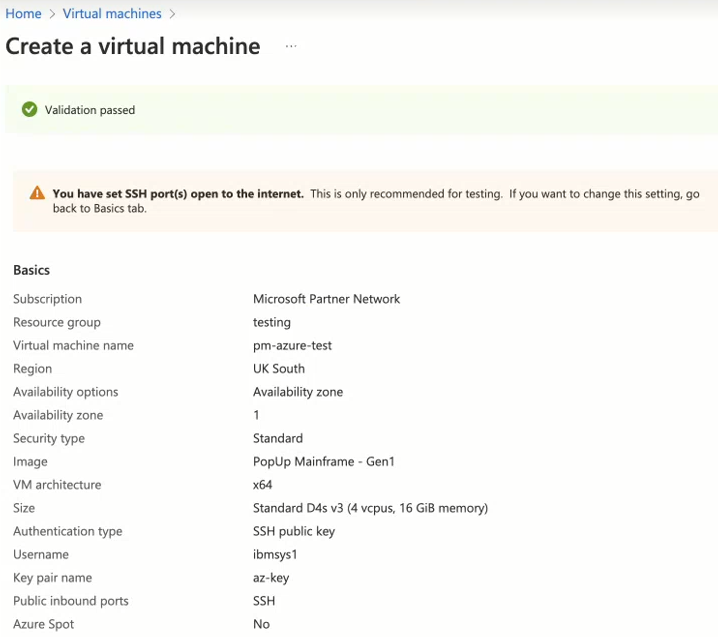
Leave the remaining defaults and then select the "Review + create" button at the bottom of the page.
-
After validation runs and passed, select the "Create" button at the bottom of the page. Deployment of the VM starts:
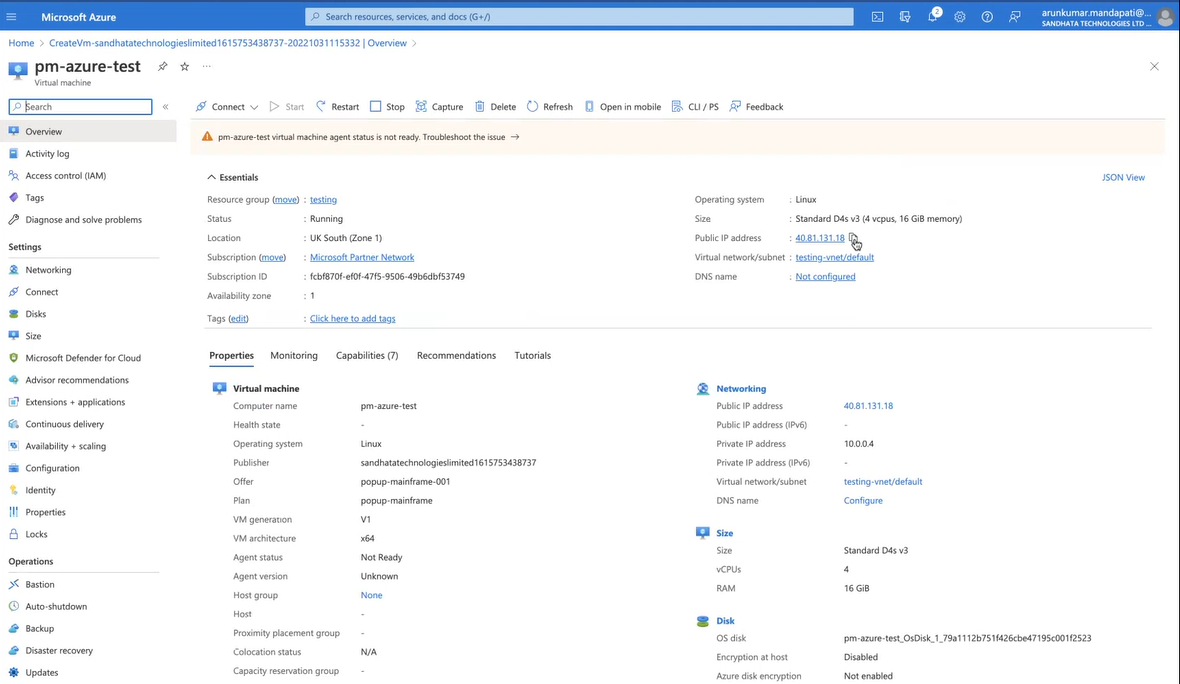
- After deployment is complete, Click on "Go to resource":
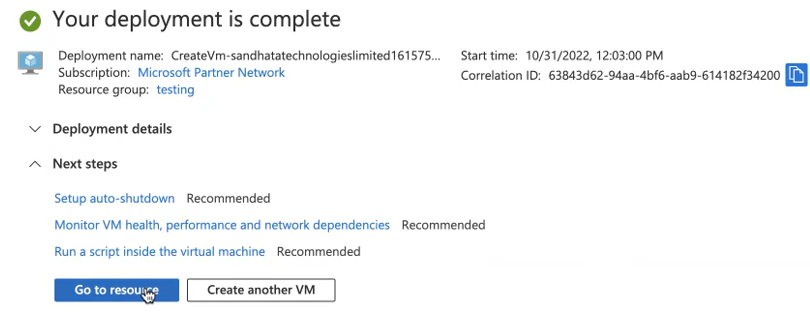
- Now the Virtual Machine has been created.
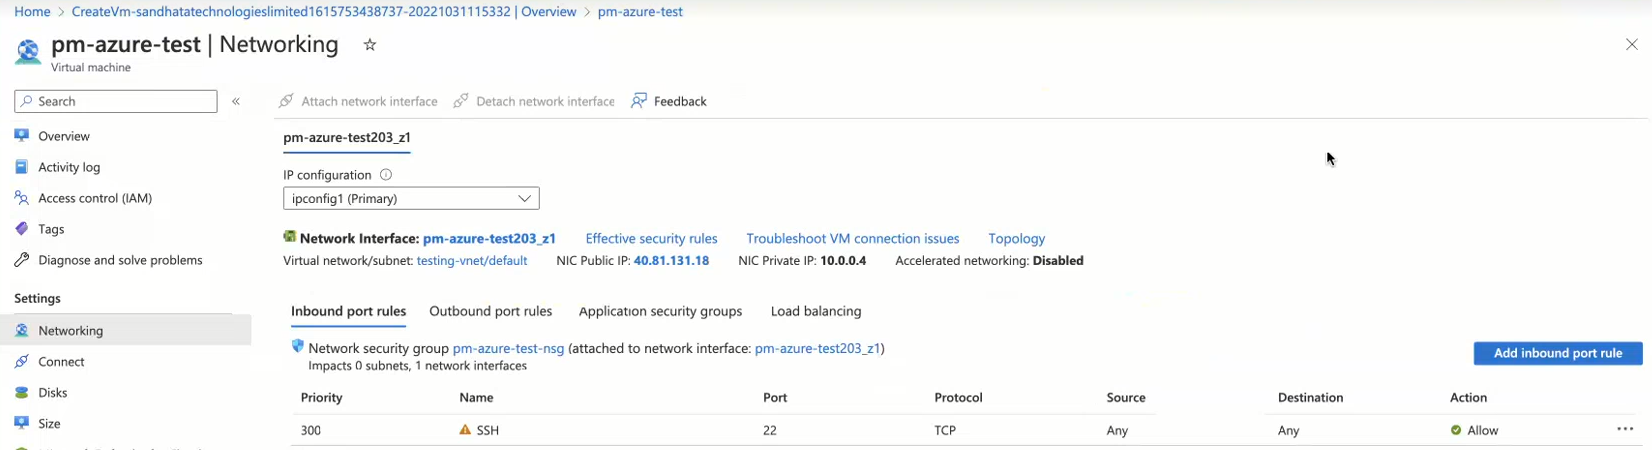
2. Enable Azure Ports
- On the Networking of your VM, Click on "Add Inbound port rule" to create a new port:
- Enter the new inbound port for 3270 connections by setting "Destination port ranges" to "3270", change the name and click "Add":
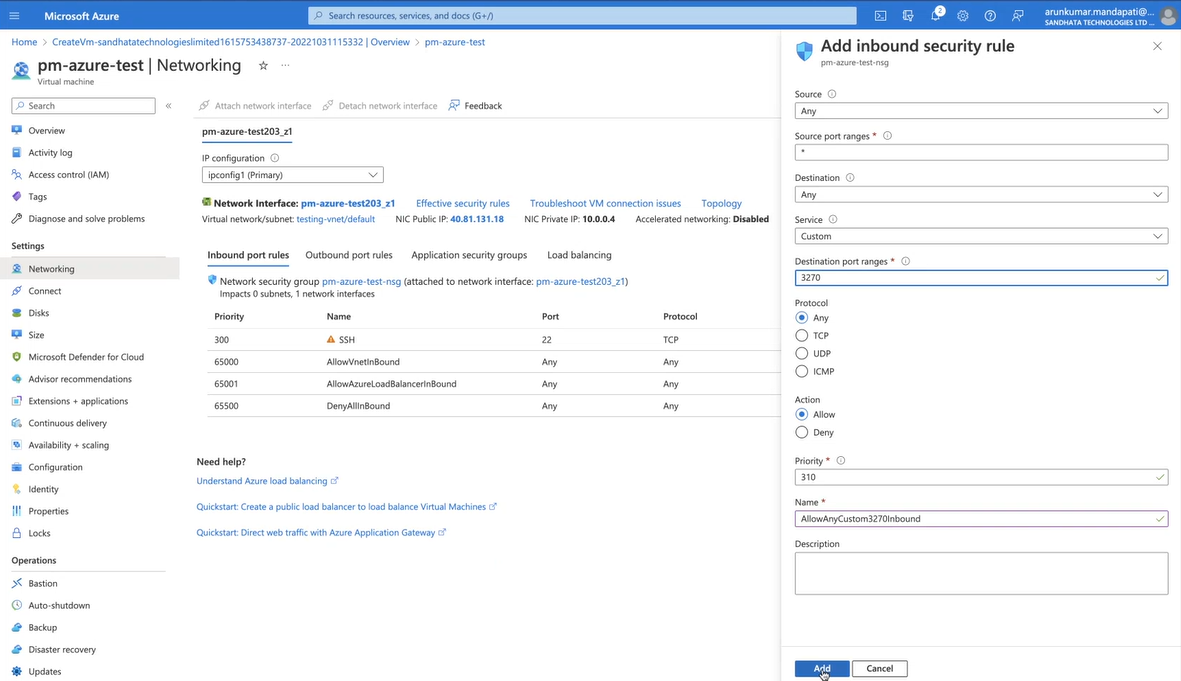
- Now the new port is enabled:
3. Connect to Azure VM
- On the overview page for your VM, copy the Public IP address. click on "connect" on the left side to show ssh connection string:
- Log into the newly created VM using the below command, where ip-address is the IP of the new Azure VM, and key-path is the full directory path of the ssh key on your local machine.
ssh -i key_path ibmsys1@ip-address

4. Post Deployment Steps - Azure
See below for post deployment steps.
Amazon Web Services (AWS)
PopUp Mainframe offering on AWS follows a “bring your own license” (BYOL) model. A PopUp license must be purchased separately to provision the AWS VM. Contact the PopUp support team for more information via PopUp Support.
PopUp Mainframe is supported in all AWS regions which offer instance types r5.large, m5.xlarge and m6i.xlarge.
There are no additional billable services required for the PopUp Mainframe deployment.
1. Pre-requisites
Before deploying the PopUp VM, ensure the AWS service limits / quotas are sufficient for your requirements.
Please refer to Managing AWS EC2 Service Quotas and Best Practice Guide to effectively manage the service quotas for your AWS account.
To complete this deployment, the following skills are required:
- Familiarity with AWS
- Permission in the AWS Cloud to create a VM
- Basic Linux skills (to run shell commands)
- Basic z/OS skills (to IPL the z/OS instance and validate it)
The expected duration for this activity is approx 1 hour.
2. Create VM
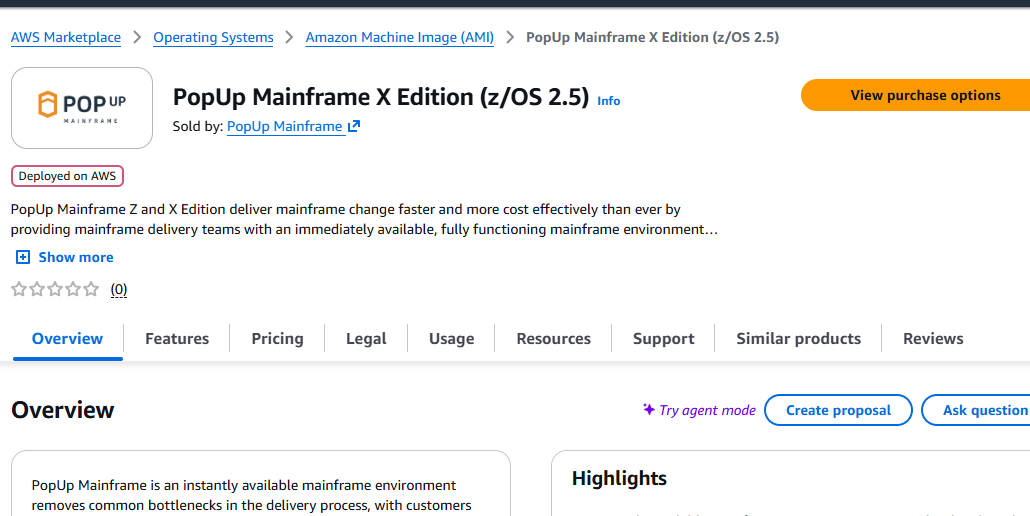
Navigate to the AWS Marketplace, and search for “PopUp Mainframe”. Click "View purchase options"
Warning: Do not use an AWS root account for this activity. Follow the principle of least privilege for access to the new PopUp Mainframe VM.
Click "Launch your software".
Note: An appropriate AWS active subscription is required to launch the software.
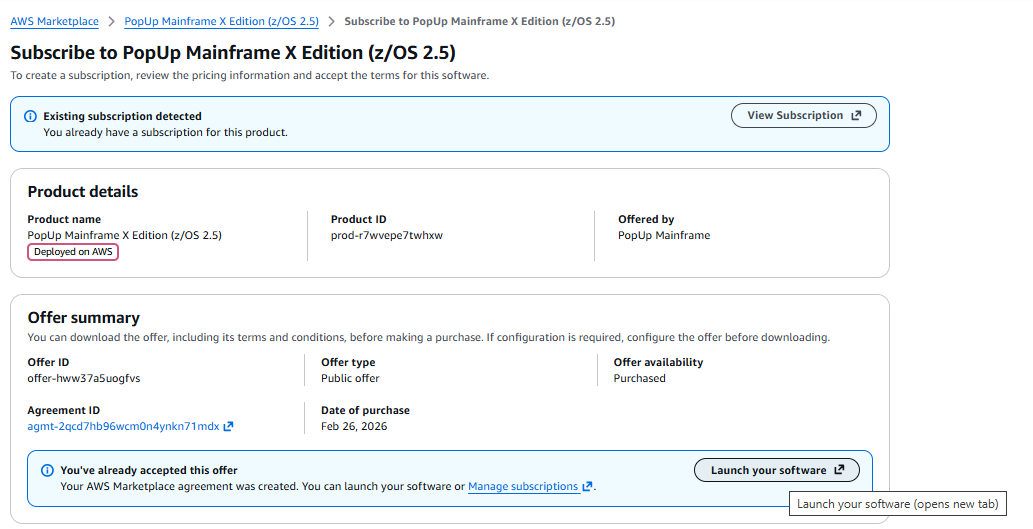
Select "Launch from EC2 Console" with an appropriate value in the "Region" field.
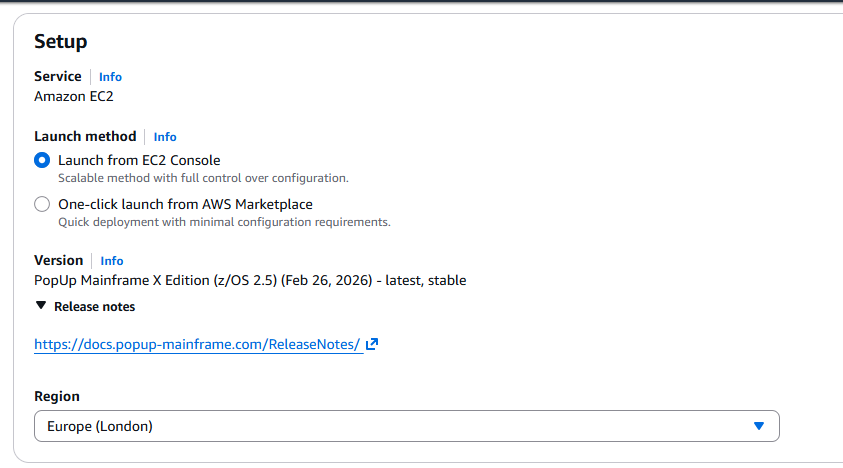
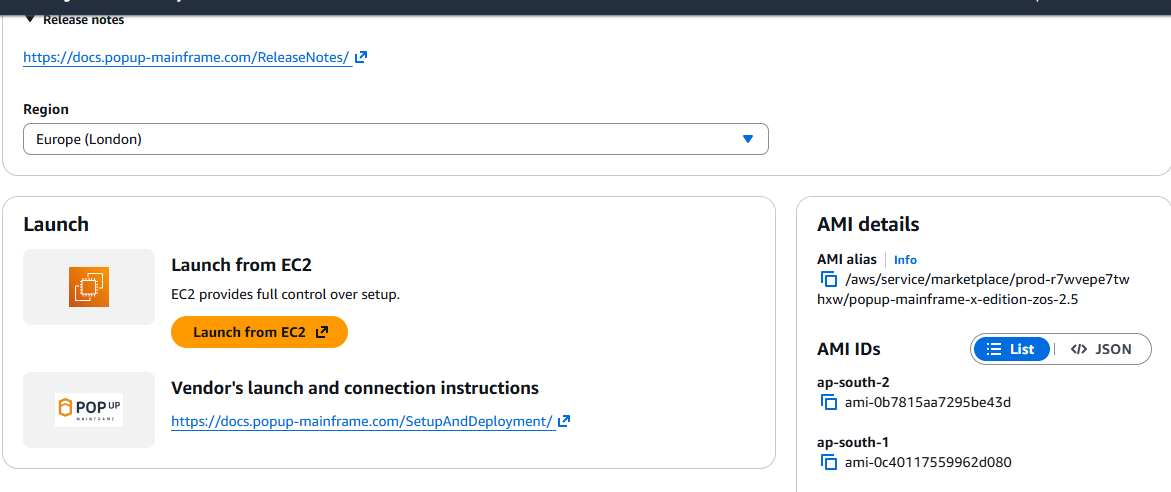
Scroll down and click "Launch from EC2"
Provide an appropriate name tag in the "Name" field.
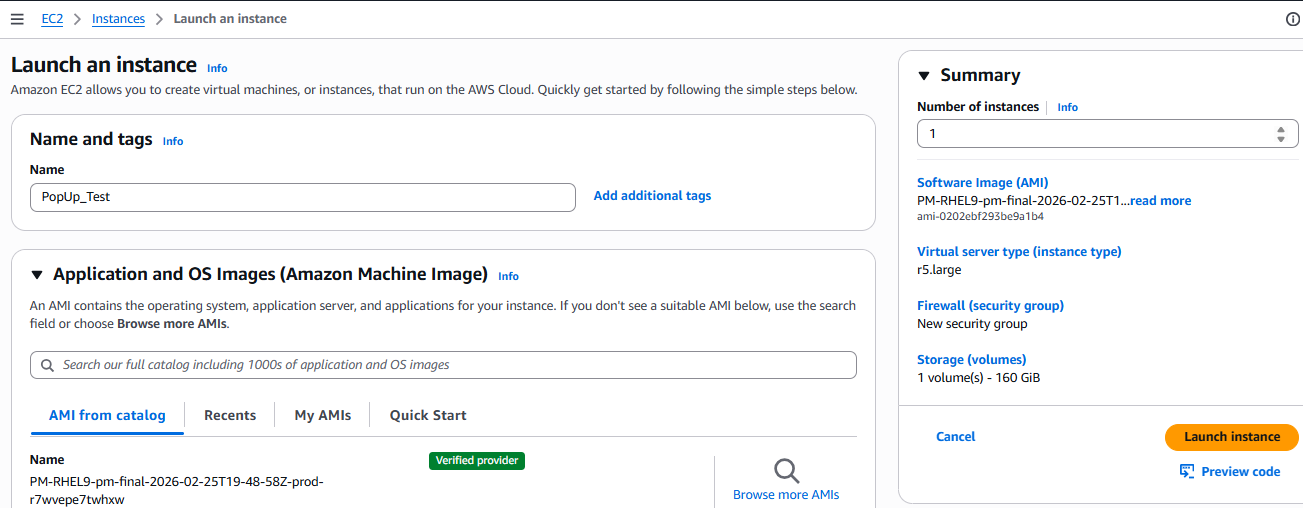
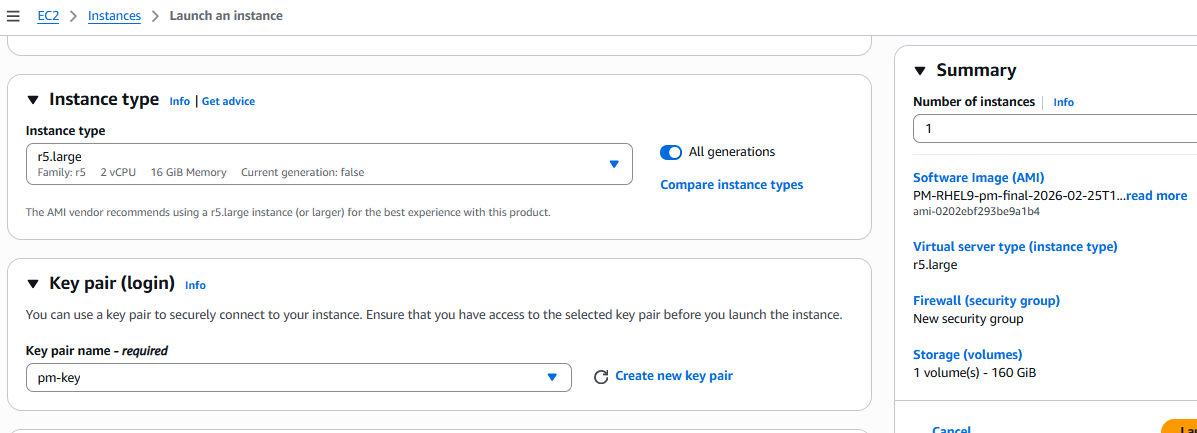
The minimum recommended Instance type is r5.large. It can vary based on the volume of data to be handled in the PopUp Mainframe.
You can create a new SSH key by clicking "Create key pair". We recommend you setup a SSH key to connect to the PopUp, as this is more secure than a password. Store the key carefully (ideally in a secrets manager), and share it only with those users who need to connect to the PopUp. Creating a new key periodically is recommended.
Select the appropriate "Subnet" and "Security Group" details under the Network Settings tab.
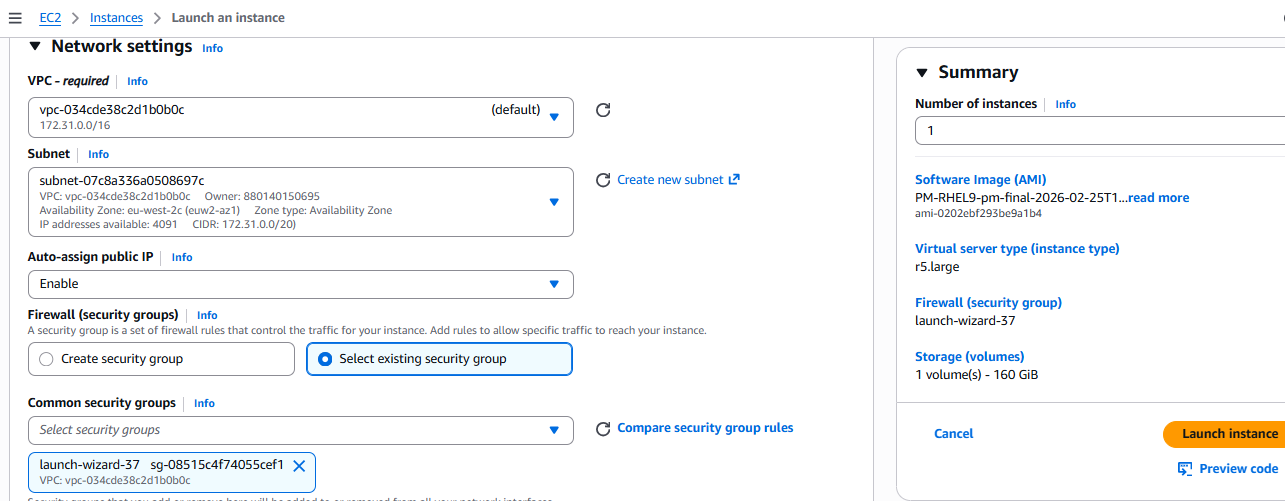
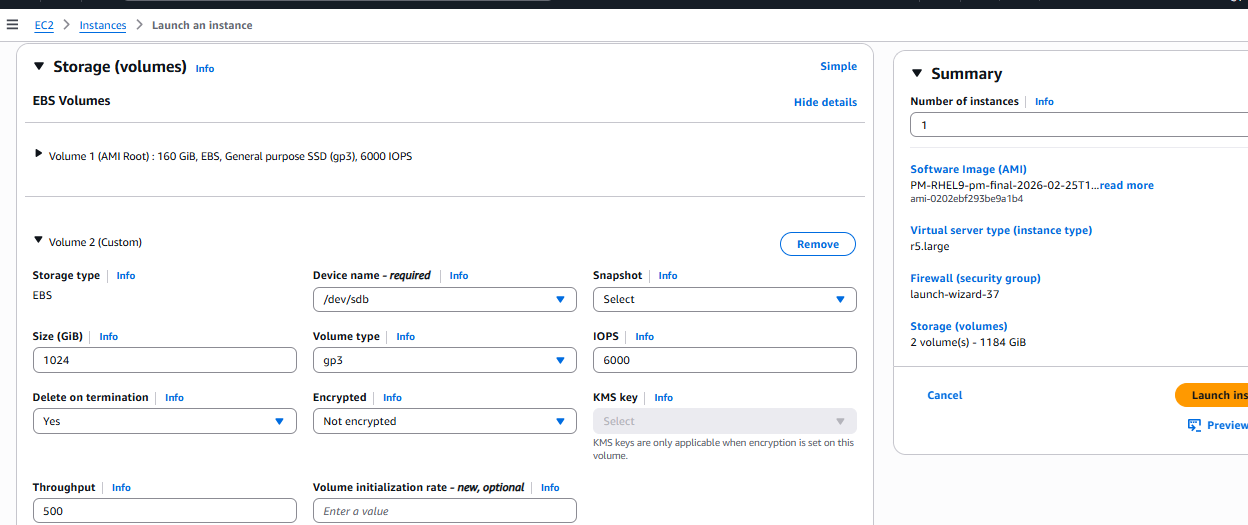
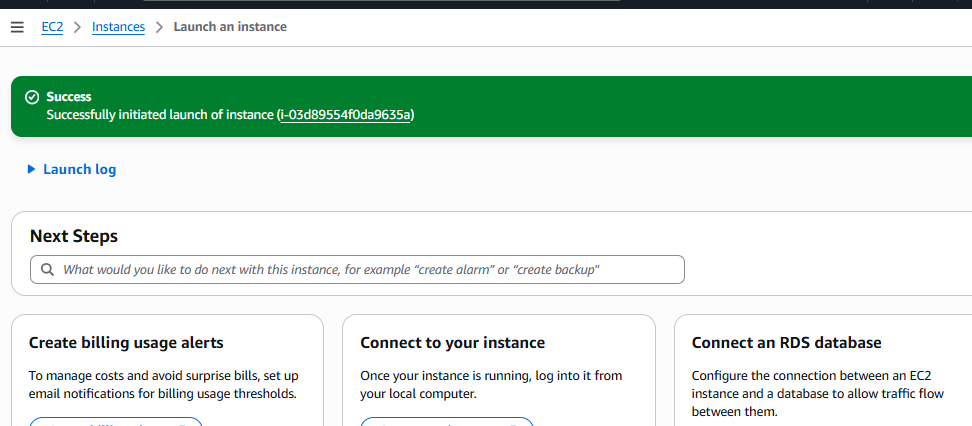
Ensure to add an additional 1 TB data disk. Click the "Launch instance"
The PopUp instance is now successfully deployed.
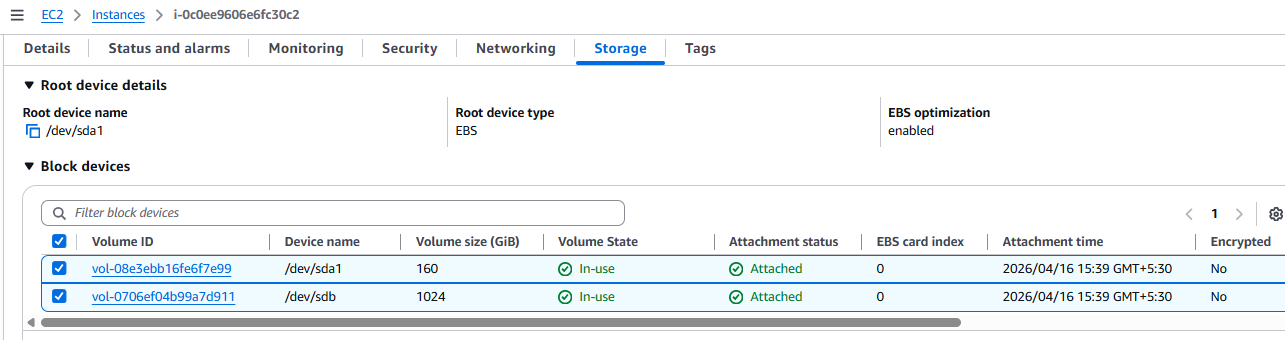
PopUp Instance Summary details
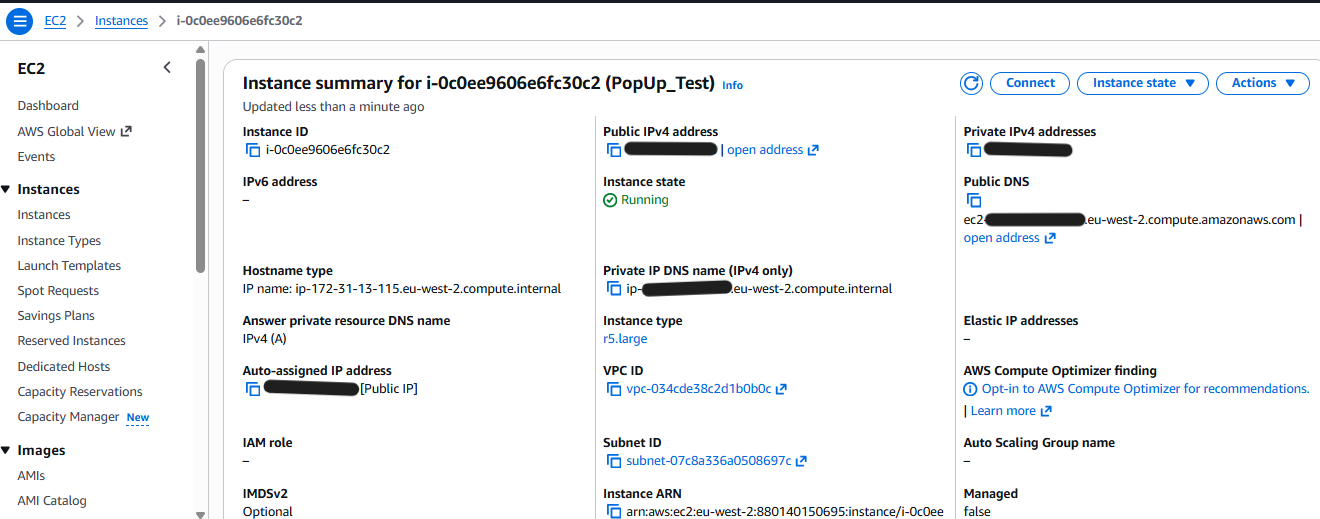
The below screenshot shows the system and the data disks created as part of storage volumes deployment. Refer the recommendations for more details.
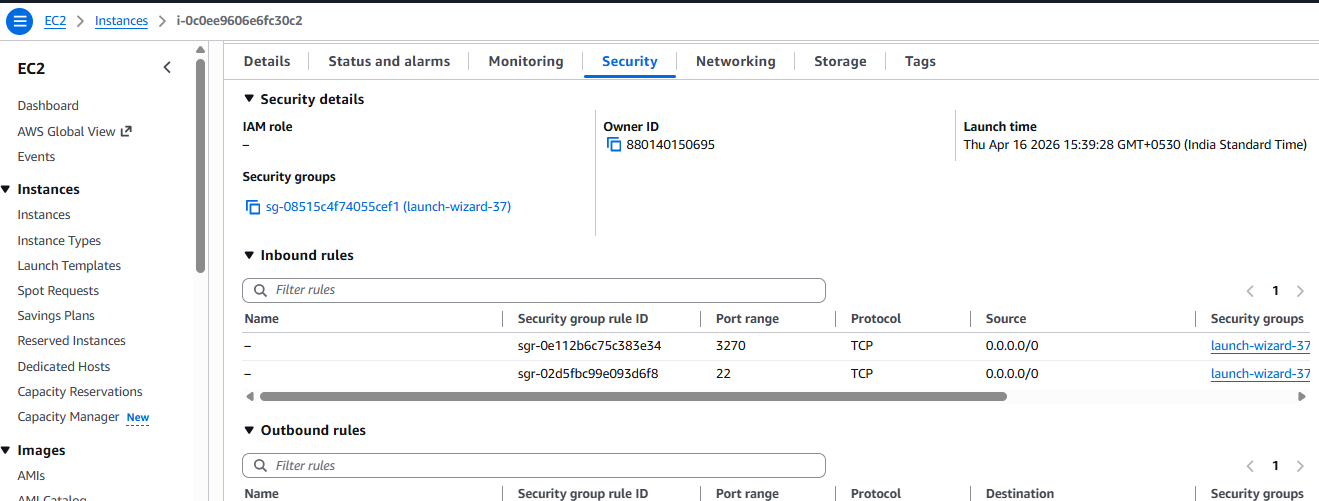
3. Configure networking
Navigate to the networking setup screen. Add inbound and outbound ports as per the network requirements, as well as your application requirements.
4. Connect to AWS VM
Capture the IP address of the newly created VM, and ensure you have the ssh key pem file available on your local machine. The user required is ibmsys1. To connect to the AWS VM, open a terminal on your local machine, and use this command:
ssh -i <key_path> ibmsys1@<IP-address>
5. Post deployment steps
See below for post deployment steps.
Deploying PopUp Mainframe on VMware
1. Download the OVA
Download the PopUp Mainframe OVA (or Cloud image) from the link provided to you by the Popup Mainframe team.
2. Deploy OVA on VMware
- Login using the vSphere client to the vSphere server (or vCenter Server) where you want to install PopUp
- In the vSphere Client, click File.
- Select Deploy OVA Template.
- Browse to the OVA file.
- Click Next.
- Select a hostname for the PopUp Mainframe.
- Select the data center where the PopUp Mainframe will be located.
- Select the cluster and the ESX host.
- Select one (1) data store for the PopUp Mainframe.
- See below for post deployment steps.
Deploying PopUp Mainframe on Virtualbox
This section aims to give an overview of the necessary basic steps/processes involved in ‘Creating a new Popup Mainframe on a Virtual Box’. However the install steps are similar for other technologies too. If you are using other Virtualization technology, we are happy to either install for you directly if you provide access or advise over a call/screen share meeting.
Note: VirtualBox deployment is only supported for PopUp Mainframe running on RHEL 7.
1. Download the PopUp Mainframe OVA
Download the Popup-mainframe OVA (or Cloud image) from the link provided to you.
2. Import PopUp Mainframe OVA
Import the OVA using VirtualBox GUI. Import using Command Line Interface (CLI) makes the process a lot faster than using the GUI, hence we suggest you use the CLI.
Open the command prompt and navigate to the OVA download location and run the following command:
vboxmanage import PM_Final.ova
Further customization of the provisioned VM can be done using the command --dry-run
Run the below command to display all the avalable options:
vboxmanage import PM_Final.ova --dry-run
Check for the below output on running the above command. Note, this will not import the VM:
C:\Users\Administrator\Downloads>vboxmanage import PM_Final.ova --dry-run
0%...10%...20%...30%...40%...50%...60%...70%...80%...90%...100%
Interpreting C:\Users\Administrator\Downloads\PM_Final.ova...
OK.
Disks:
  vmdisk1       966367641600    -1      http://www.vmware.com/interfaces/specifications/vmdk.html#streamOptimized       PM_Final-disk001.vmdk      -1      -1

Virtual system 0:
 0: Suggested OS type: "RedHat_64"
    (change with "--vsys 0 --ostype <type>"; use "list ostypes" to list all possible values)
 1: Suggested VM name "PM_Final"
    (change with "--vsys 0 --vmname <name>")
 2: Suggested VM group "/"
    (change with "--vsys 0 --group <group>")
 3: Suggested VM settings file name "C:\Users\Administrator\VirtualBox VMs\PM_Final\PM_Final.vbox"
    (change with "--vsys 0 --settingsfile <filename>")
 4: Suggested VM base folder "C:\Users\Administrator\VirtualBox VMs"
    (change with "--vsys 0 --basefolder <path>")
 5: Number of CPUs: 1
    (change with "--vsys 0 --cpus <n>")
 6: Guest memory: 8192 MB
    (change with "--vsys 0 --memory <MB>")
 7: Network adapter: orig NAT, config 3, extra slot=0;type=NAT
 8: IDE controller, type PIIX4
    (disable with "--vsys 0 --unit 8 --ignore")
 9: IDE controller, type PIIX4
    (disable with "--vsys 0 --unit 9 --ignore")
10: Hard disk image: source image=PM_Final-disk001.vmdk, target path=PM_Final-disk001.vmdk, controller=8;channel=0
    (change target path with "--vsys 0 --unit 10 --disk path";
    disable with "--vsys 0 --unit 10 --ignore")
For the purpose of this documentation, the option to change the VM name --vmname is used here.
vboxmanage import PM_Final.ova --vsys 0 --vmname=pm_testing
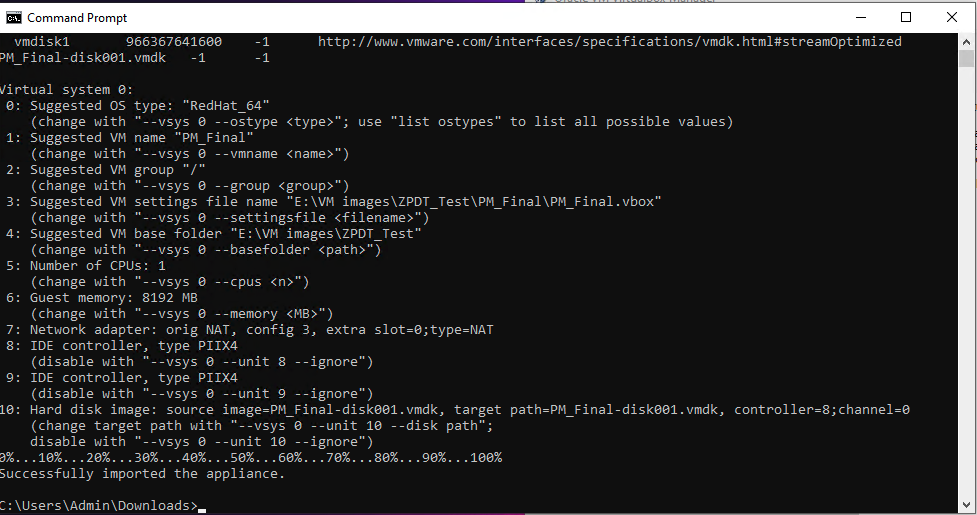
Check for the below output, once the import is complete:
output:
3. Customize the VirtualBox VM
Open the VirtualBox GUI and go to the newly created VM Settings > Network. The default network option is "Nat Adapter" .Change this as per your needs and ensure the VM is able to communicate with the ZD&T License Server. We use Bridged Adapter with DHCP.
4. Post Deployment Steps - OVA
See below for post deployment steps.
Post Deployment Steps
The following steps apply to all deployment target architectures.
1. ZD&T License Setup
A ZD&T license is required to run a PopUp. Follow instructions here to setup your ZD&T license server.
The ZD&T license will provide a number of floating licenses which can be consumed by a PopUp when z/OS starts (IPLs).
2. PopUp Mainframe License Setup
A PopUp Mainframe license is required in addition to the ZD&T license. The PopUp license differs from the ZD&T license in that one PopUp license is required per PopUp VM (a fixed license model instead of a floating license model).
For user ibmsys1 the default password for ova (VMware and Virtualbox) and kvm is popup123, for Azure it's the ssh key generated previously.
a. Generate PopUp license request
Login to the PopUp server as user ibmsys1 and run command
request_popup_license
This will generate a file in the home folder <hostname>-pm-request.lic
Please send this file to us, we will send you a file back called <hostname>-pm-update.lic
b. Apply the PopUp license
After receiving the updated license file <hostname>-pm-update.lic again as ibmsys1, apply it using
update_popup_license <hostname>-pm-update.lic
c. Query PopUp License Information (Optional)
Use the query_popup_license script to view the current PopUp license expiry date and status.
query_popup_license
Sample Output
Popup License Information
-------------------------
Expiry Date : 2026-09-18 00:00:00
Status      : Active
3. PopUp Mainframe Setup
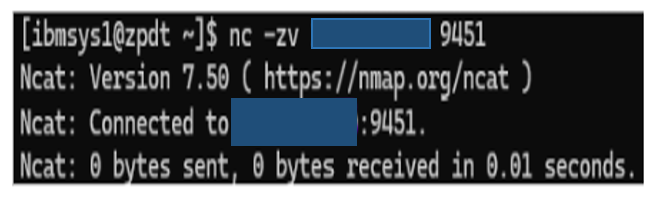
Ensure connectivity to the license server on Port 9451 (using commands like telnet or netcat) before continuing.
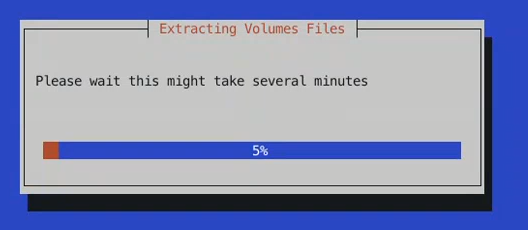
Switch to the root user with sudo -i, then as root, execute the zdt_setup command.

Now the zdt_setup is running. This will take around 10 minutes, depending on the spec of the hardware.
4. Perform IPL
Once zdt_setup is complete, exit from root (exit) and log in as ibmsys1.
a. Setup IPL_PARM and source .bashrc
The IPL_PARM needs to be configured before IPL is run. The available options are:
| Parameter | Description |
|---|---|
| 0A82ALM | Default load parameter |
| 0A82BMM | BMC load parameter (if BMC tools are required) |
The default load parameter IPL_PARM="0A82ALM" is already configured in:
/home/ibmsys1/.bashrc
If the default load parameter is sufficient, source the .bashrc file
source ~/.bashrc
then proceed directly to the IPL step (step c).
If the BMC load parameter is required, update the value in .bashrc, see step b.
b. For BMC users, update .bashrc
If you need to change the load parameter (for example, to enable BMC tools), edit the .bashrc file:
vi /home/ibmsys1/.bashrc
Add or modify one of the following lines:
export IPL_PARM="0A82ALM"   # Default load
export IPL_PARM="0A82BMM"   # BMC load
Reload the .bashrc file so the updated parameter becomes active:
source ~/.bashrc
c. Start z/OS (IPL)
Confirm that the correct IPL parameter is set, and ensure the displayed value matches your intended load parameter before proceeding.
[ibmsys1@popup ~]$ echo $IPL_PARM
0A82ALM
Execute the IPL script to start up your PopUp Mainframe.
./ipl
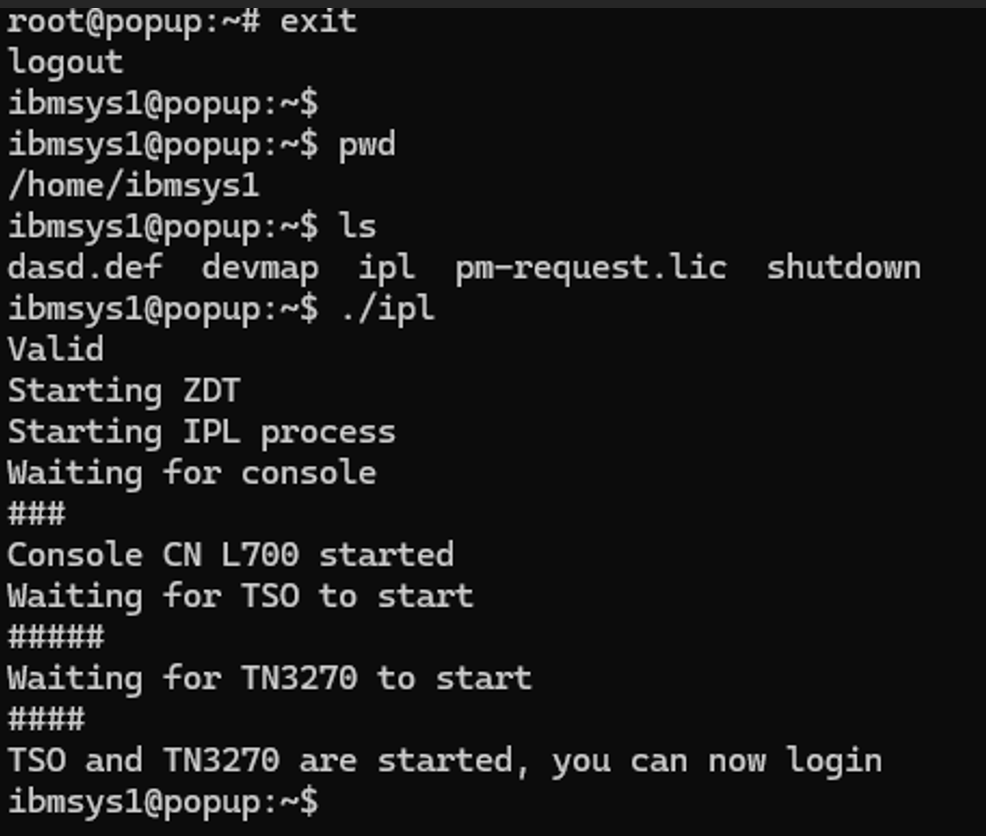
check logs to confirm successful startup:
ibmsys1@popup ~]$ cat /tmp/zdt.log
If you encounter any IPL issues, see our Troubleshooting page.
Your copy of PopUp Mainframe is now running and ready to use.
You can now logon to the TSO sessions using a mainframe emulator (e.g. IBM P-COMM), and connect to z/OS using a mainframe IDE (e.g. VSCode). PopUp Mainframe comes with two default master user IDs - IBMUSER and ADCDMST. Please note that these two user IDs have the full authority on the environment. The initial password to be used is 'popup' (all lower case).
Following these steps, you have configured and deployed a PopUp Mainframe, applied a PopUp license, and started up your PopUp successfully.
If you have any questions, please contact the Popup Support Team
Page last revised on: 2026-06-29