Setup and Deployment
Deploying PopUp Mainframe on KVM (on IBM Z)
Popup Mainframe is available as a KVM image. Download the KVM image from the link provided to you by the Popup Mainframe team.
1. Create the data disk
Create a 1 TB disk for the PopUp
sudo qemu-img create -f qcow2 /storage/build/images/output/data.qcow2 1024G
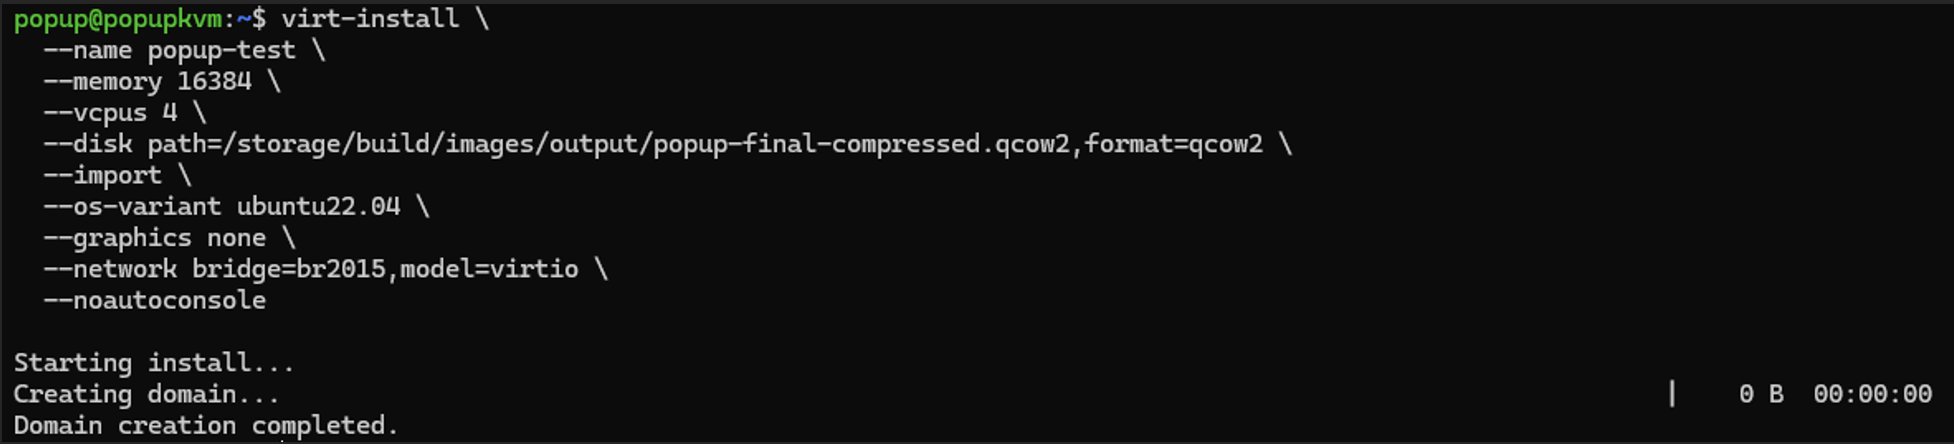
2. Start the Virtual Machine
To start the VM, run the following command, customized based on your preferences
virt-install --name popup-test --memory 16384 --vcpus 4 --disk path=/storage/build/images/output/popup-final-test.qcow2,format=qcow2 --disk path=/storage/build/images/output/data.qcow2,format=qcow2 --import --os-variant ubuntu22.04 --graphics none --network bridge=br2015,model=virtio --noautoconsole
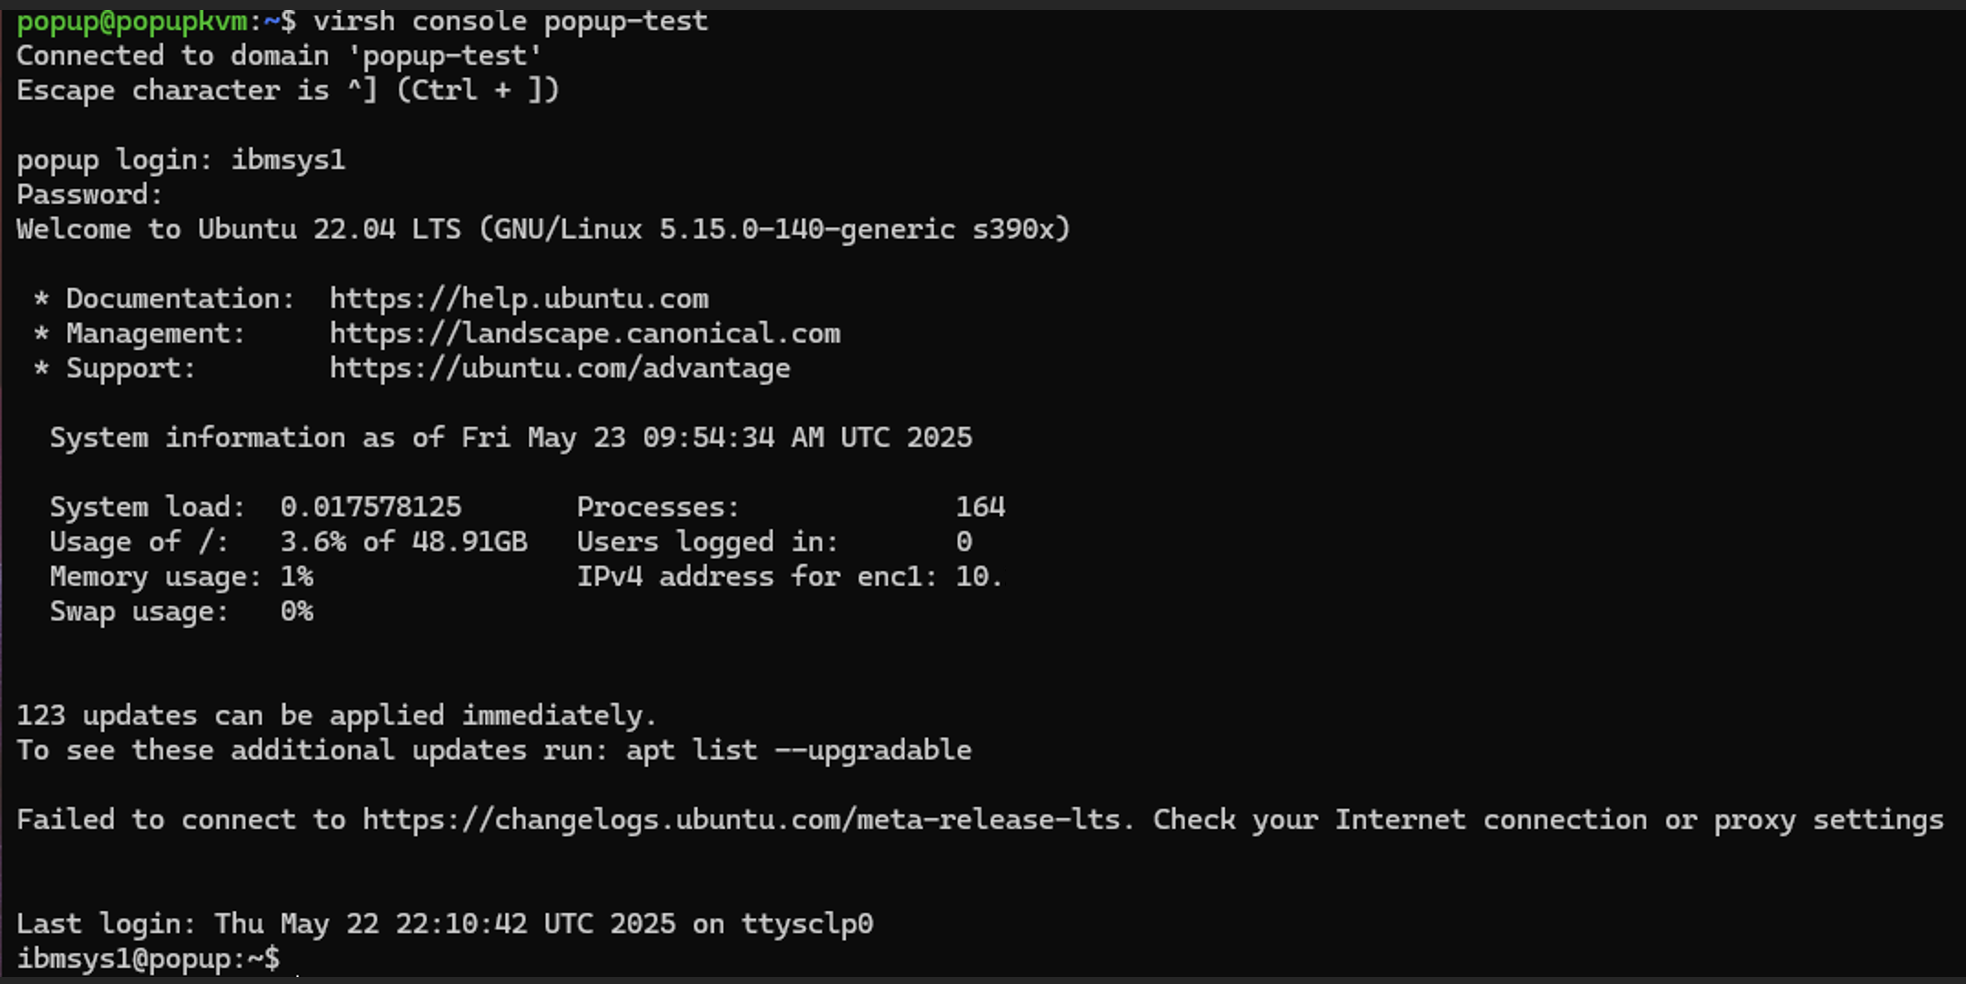
3. Connect to the VM Console
Use the following command to access the VM console
virsh console <VM Name>
Replace VM Name with the name of your virtual machine e.g. popup-test.
4. Post Deployment Steps
See below for post deployment steps.
Installing PopUp Mainframe on Microsoft Azure
Popup Mainframe is available as a cloud offering through Microsoft Azure.
Watch the video to see how to spin up a PopUp on Azure, or follow the documentation below.
How to spin up PopUp on Azure from PopUp Mainframe.
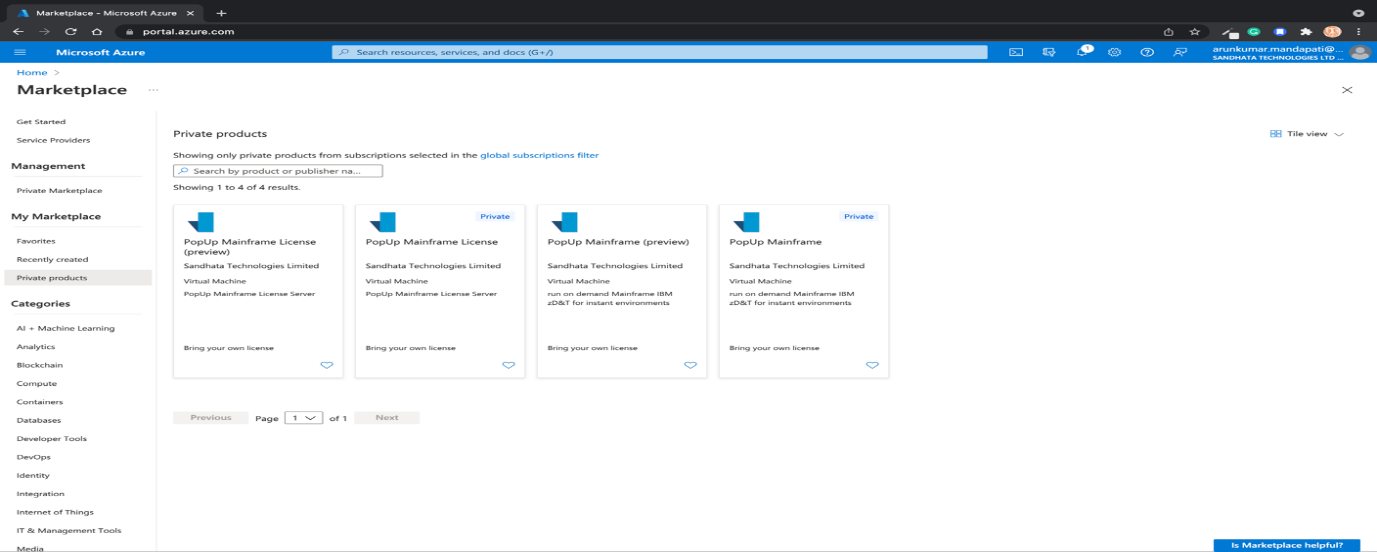
1. Create Azure Virtual Machine
In the home screen of Azure portal go to Azure marketplace, click on private product/search for Popup Mainframe; Click on “Popup Mainframe” Create; the Create a virtual machine page opens:
-
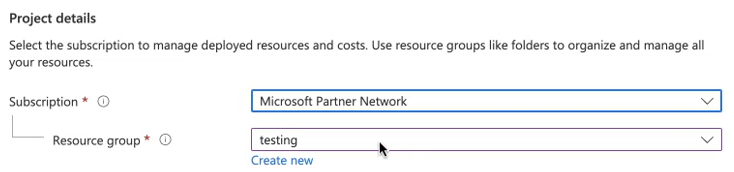
Under Project details, select Subscription, and Resource group for the Virtual machine:
-
Under Instance details, enter the required name for the Virtual machine name and choose PopUp Mainframe – Gen 1 for the Image. Leave the other defaults:

NOTE: You can select the preferred Region, Availability options & Security type.
- Select the required size to build the VM:
NOTE: The recommended minimum size is "standarad_D4s_V3-4vcpus,16GiB memory".
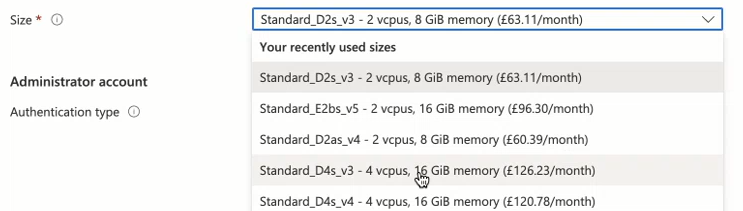
NOTE: Check whether the Size is available for the selected Region.
-
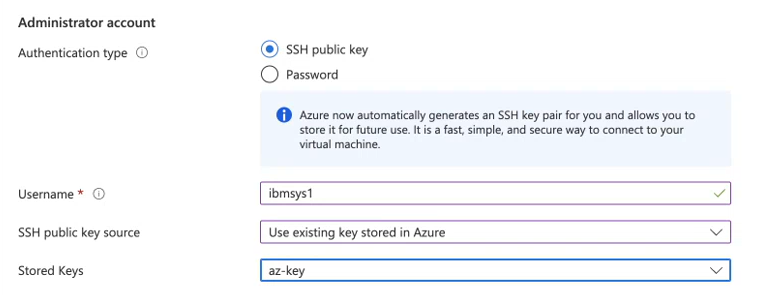
Under Administrator account, select the Authentication type as SSH public key and provide a username, for PopUp VM the Username should only be “ibmsys1” and select the required SSH Public key source. If you want to use an already existing key select “Use existing key stored in Azure” and select the required key in Stored Key:
-
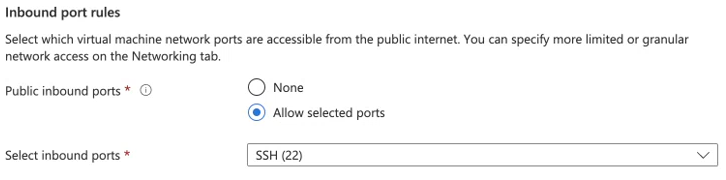
Under Inbound port rules, choose Allow selected ports and then select SSH (22) from the drop-down. And click Next: Disks:
-
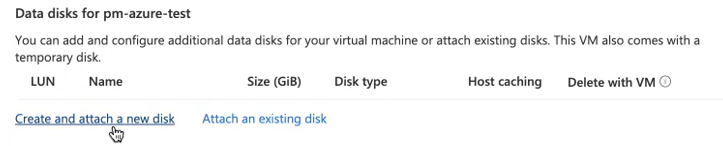
Here you need to create and attach a new disk, select Create and attach a new disk:
-
The recommended minimum disk size is 1024 GiB (Change this depending data size). Click OK:

-
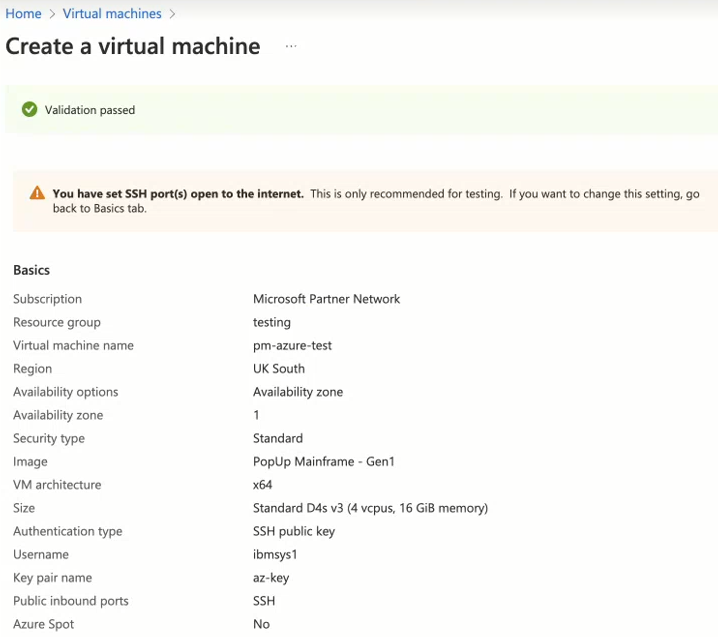
Leave the remaining defaults and then select the Review + create button at the bottom of the page.
-
After validation runs and passed,select the Create button at the bottom of the page. Deployment of the VM starts:
-
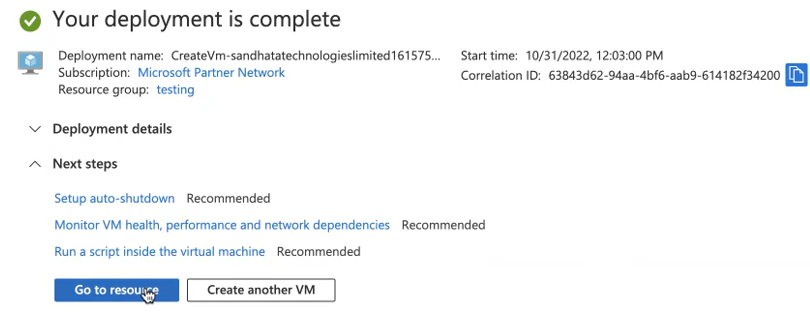
After deployment is complete, Click on "Go to resource":
-
Now the Virtual Machine has been created.
2. Enable Azure Ports
-
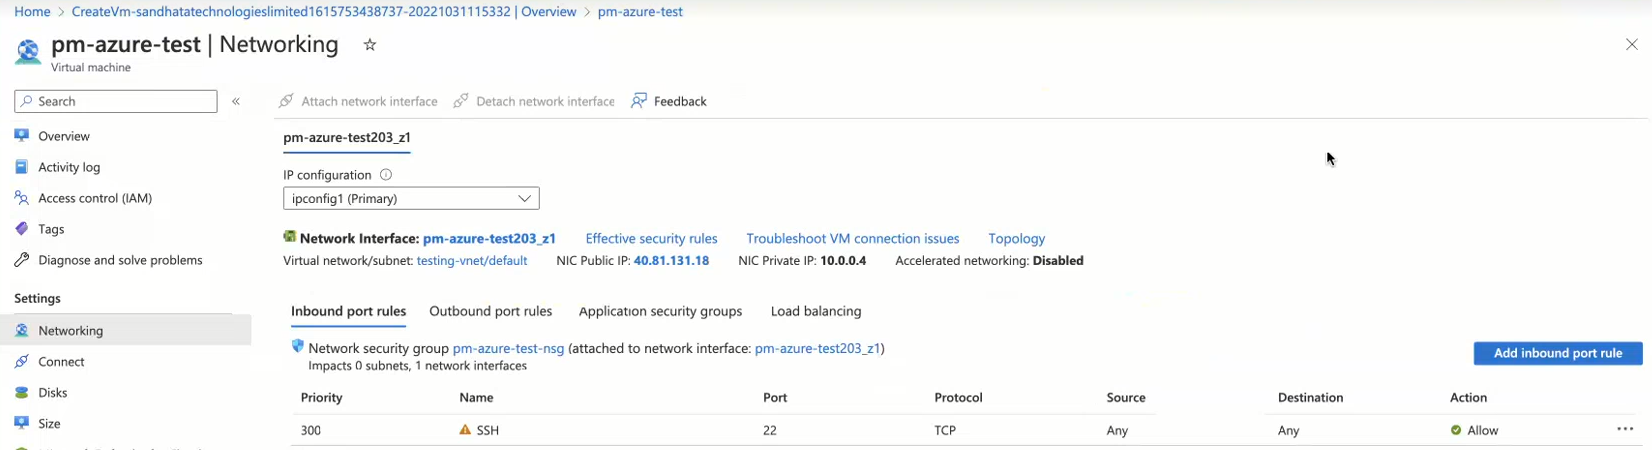
On the Networking of your VM, Click on Add Inbound port rule to create a new port:
-
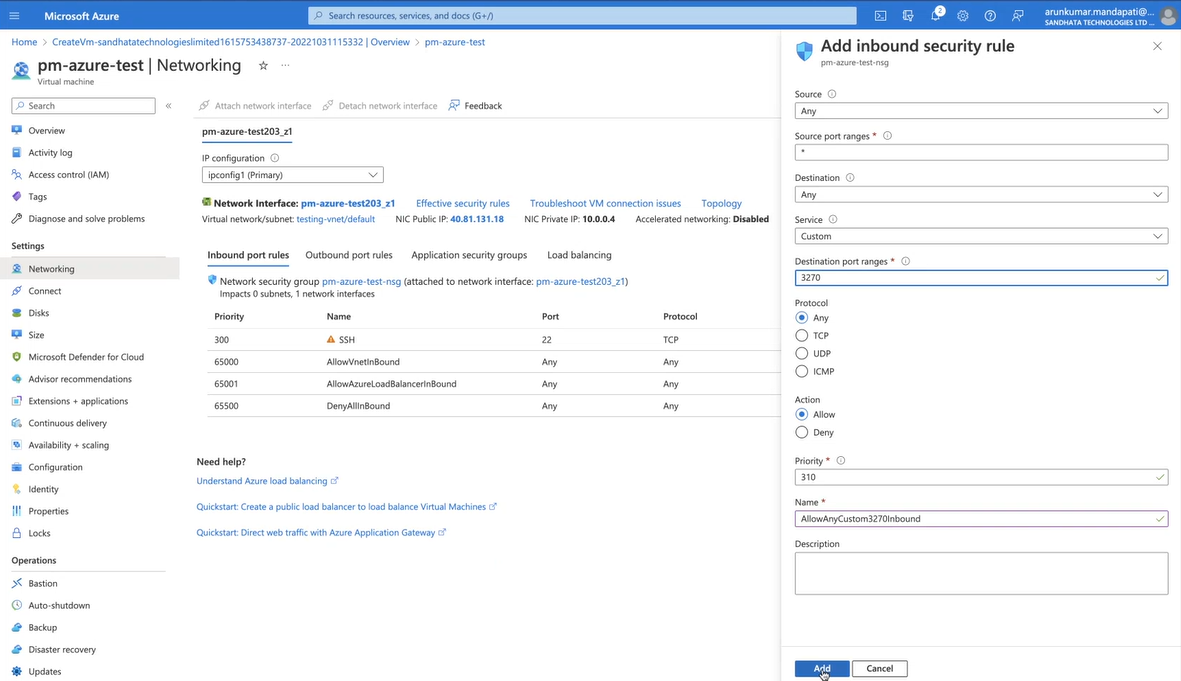
Enter the new inbound port – 3270 i.e. change the destination port to 3270, change the name and click Add:
-
Now the new port is enabled:
3. Connect to Azure VM
-
On the overview page for your VM, copy the Public IP address. click on connect on the left side to show ssh connection string:
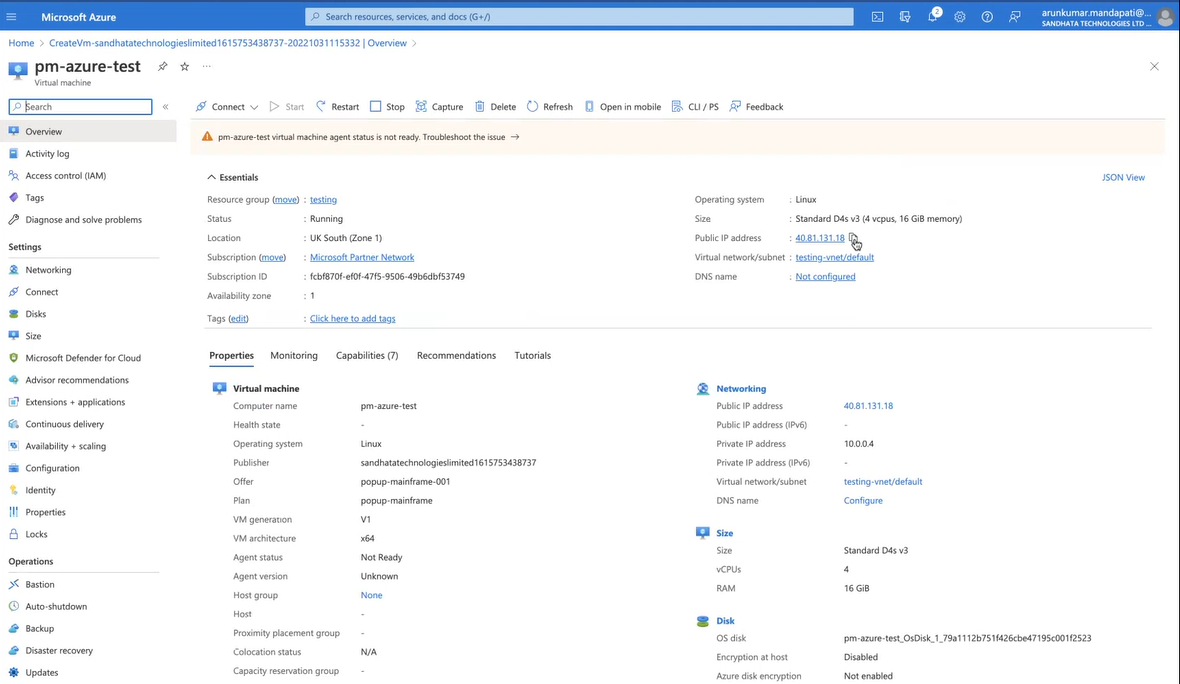
-
Logging into the newly created VM. Command: ssh -i key_path username@ip-address


4. Post Deployment Steps
See below for post deployment steps.
Deploying PopUp Mainframe on VMware
1. Download the OVA
Download the PopUp Mainframe OVA (or Cloud image) from the link provided to you by the Popup Mainframe team.
2. Deploy OVA on VMware
- Login using the vSphere client to the vSphere server (or vCenter Server) where you want to install PopUp
- In the vSphere Client, click File.
- Select Deploy OVA Template.
- Browse to the OVA file.
- Click Next.
- Select a hostname for the PopUp Mainframe.
- Select the data center where the PopUp Mainframe will be located.
- Select the cluster and the ESX host.
- Select one (1) data store for the PopUp Mainframe.
- See below for post deployment steps.
Deploying PopUp Mainframe on Virtualbox
This section aims to give an overview of the necessary basic steps/processes involved in ‘Creating a new Popup Mainframe on a Virtual Box’. However the install steps are similar for other technologies too. If you are using other Virtualization technology, we are happy to either install for you directly if you provide access or advise over a call/screen share meeting.
Note: VirtualBox deployment is only supported for PopUp Mainframe running on RHEL 7.
1. Download the PopUp Mainframe OVA
Download the Popup-mainframe OVA (or Cloud image) from the link provided to you.
2. Import PopUp Mainframe OVA
Import the OVA using VirtualBox GUI. Import using Command Line Interface (CLI) makes the process a lot faster than using the GUI, hence we suggest you use the CLI.
Open the command prompt and navigate to the OVA download location and run the following command:
vboxmanage import PM_Final.ova
Further customization of the provisioned VM can be done using the command --dry-run
Run the below command to display all the avalable options:
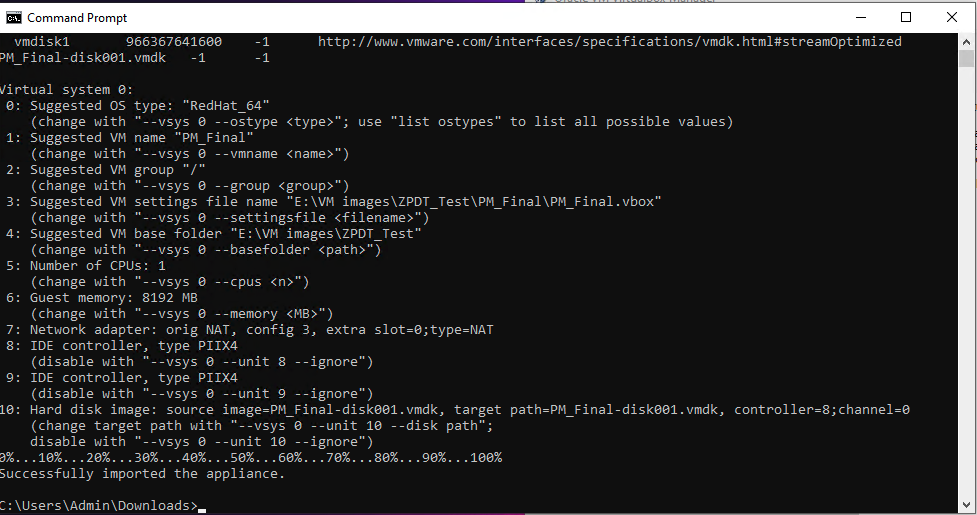
vboxmanage import PM_Final.ova --dry-run
Check for the below output on running the above command. Note, this will not import the VM:
C:\Users\Administrator\Downloads>vboxmanage import PM_Final.ova --dry-run
0%...10%...20%...30%...40%...50%...60%...70%...80%...90%...100%
Interpreting C:\Users\Administrator\Downloads\PM_Final.ova...
OK.
Disks:
  vmdisk1       966367641600    -1      http://www.vmware.com/interfaces/specifications/vmdk.html#streamOptimized       PM_Final-disk001.vmdk      -1      -1

Virtual system 0:
 0: Suggested OS type: "RedHat_64"
    (change with "--vsys 0 --ostype <type>"; use "list ostypes" to list all possible values)
 1: Suggested VM name "PM_Final"
    (change with "--vsys 0 --vmname <name>")
 2: Suggested VM group "/"
    (change with "--vsys 0 --group <group>")
 3: Suggested VM settings file name "C:\Users\Administrator\VirtualBox VMs\PM_Final\PM_Final.vbox"
    (change with "--vsys 0 --settingsfile <filename>")
 4: Suggested VM base folder "C:\Users\Administrator\VirtualBox VMs"
    (change with "--vsys 0 --basefolder <path>")
 5: Number of CPUs: 1
    (change with "--vsys 0 --cpus <n>")
 6: Guest memory: 8192 MB
    (change with "--vsys 0 --memory <MB>")
 7: Network adapter: orig NAT, config 3, extra slot=0;type=NAT
 8: IDE controller, type PIIX4
    (disable with "--vsys 0 --unit 8 --ignore")
 9: IDE controller, type PIIX4
    (disable with "--vsys 0 --unit 9 --ignore")
10: Hard disk image: source image=PM_Final-disk001.vmdk, target path=PM_Final-disk001.vmdk, controller=8;channel=0
    (change target path with "--vsys 0 --unit 10 --disk path";
    disable with "--vsys 0 --unit 10 --ignore")
For the purpose of this documentation, the option to change the VM name --vmname is used here.
vboxmanage import PM_Final.ova --vsys 0 --vmname=pm_testing
Check for the below output, once the import is complete:
output:
3. Customize the VirtualBox VM
Open the VirtualBox GUI and go to the newly created VM Settings > Network. The default network option is "Nat Adapter" .Change this as per your needs and ensure the VM is able to communicate with the ZD&T License Server. We use Bridged Adapter with DHCP.
4. Post Deployment Steps
See below for post deployment steps.
Post Deployment Steps
The following steps apply to all deployment target architectures.
1. ZD&T License Setup
ZD&T license is required to run a PopUp. Follow instructions here to setup your ZD&T license server.
2. Popup Mainframe License Setup
PopUp Mainframe license is required in addition to ZD&T license.
a. Generate PopUp license request
Log in as user ibmsys1 and run command
request_lic
This will generate a file in the home folder pm-request.lic
Please send this file to us, we will send you a file back called pm-update.lic
b. Apply the PopUp license
After receiving the updated license file pm-update.lic again as ibmsys1, apply it using
apply_lic pm-update.lic
3. Popup Mainframe Setup and IPL
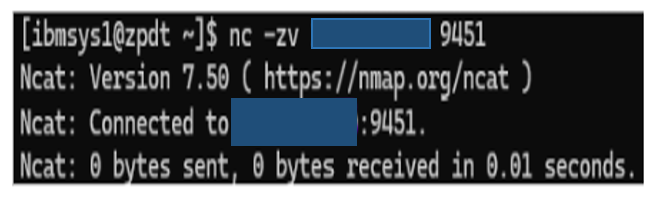
Ensure connectivity to the License Server on Port 9451 (using commands like telnet or netcat) before running the ZD&T setup process.
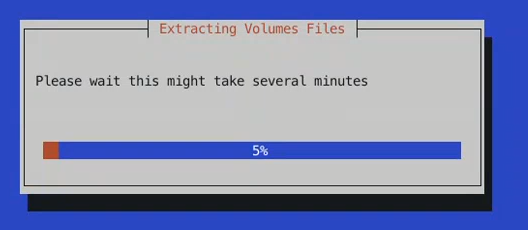
Execute ZD&T Setup Directly. As the root user, execute the zdt_setup command.

Now the ZD&T Setup is running. This will take around 10 minutes.
Once ZD&T Setup is complete, exit from root and (as ibmsys1) execute the ./ipl script to start up your PopUp Mainframe.
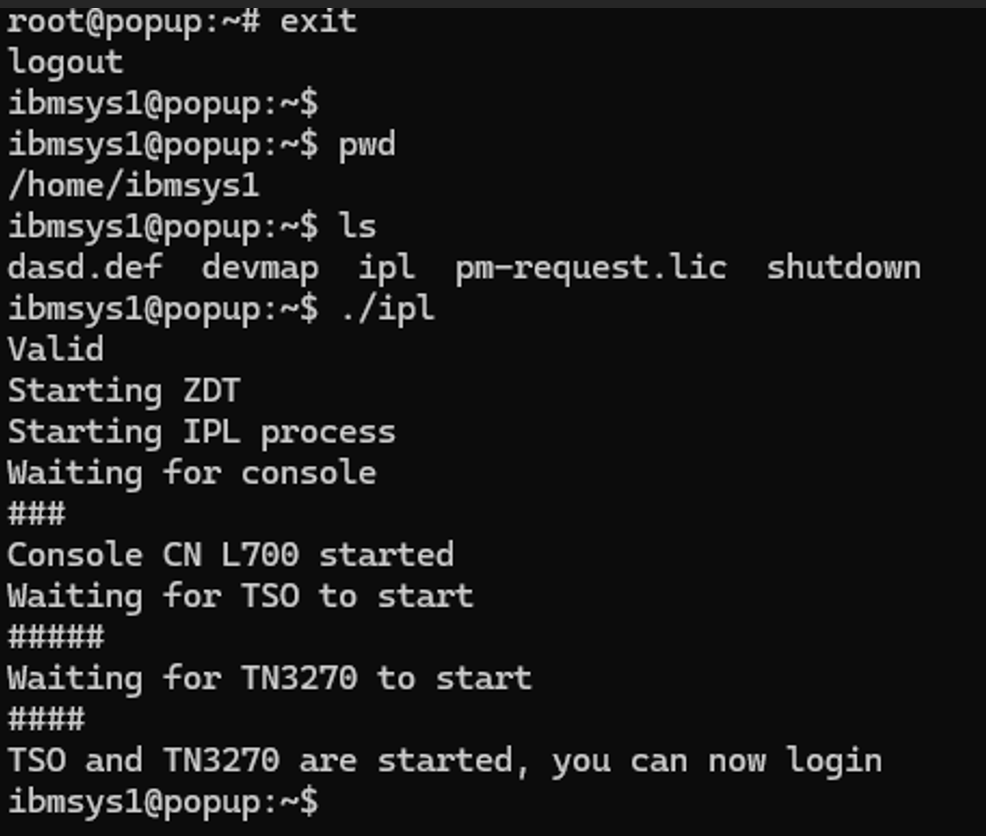
Your copy of Popup Mainframe is now running and ready to use.
4. Conclusion
Following these steps, you have configured and deployed a PopUp Mainframe, applied a PopUp license, and started up your PopUp successfully.
If you have any questions, please contact the Popup Support Team
Page last revised on: 2025-07-02